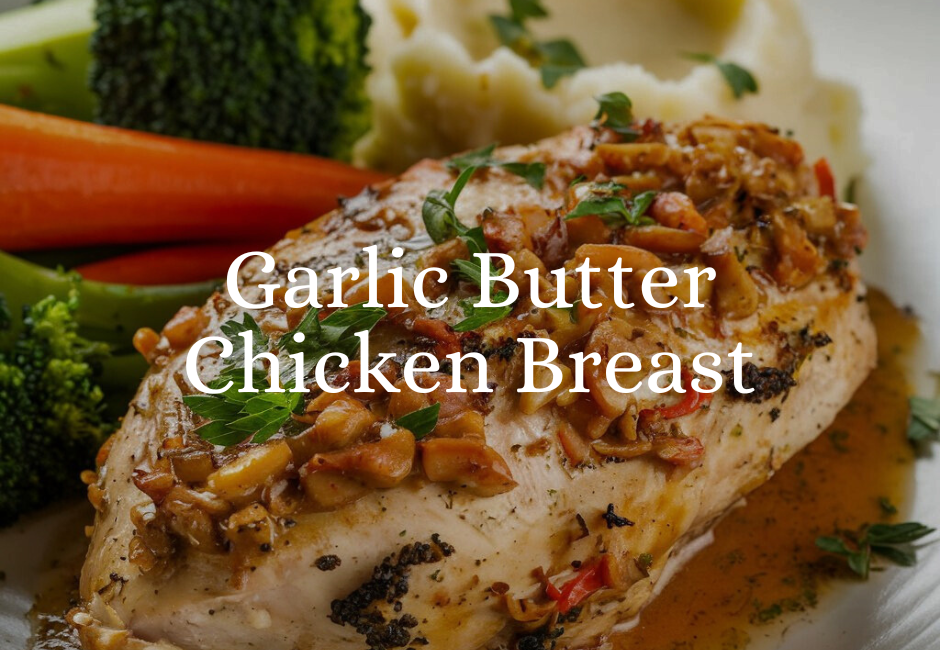
Why This Garlic Butter Chicken Breast Recipe Stands Out
If you’re looking for a delicious, juicy, and flavorful garlic butter chicken breast recipe, you’ve come to the right place. This recipe is packed with rich garlic flavors, perfectly seasoned chicken, and a velvety butter sauce that makes every bite irresistible. Whether you need a quick weeknight dinner or a dish to impress your guests, this pan-seared garlic butter chicken is an easy and foolproof choice.
Ingredients for the Best Garlic Butter Chicken
To make the perfect garlic butter chicken breast, you need the following ingredients:
For the Chicken:
- 2 large boneless, skinless chicken breasts
- 1 teaspoon salt
- ½ teaspoon black pepper
- 1 teaspoon paprika
- ½ teaspoon garlic powder
- ½ teaspoon onion powder
- 2 tablespoons olive oil
For the garlic butter sauce:
- 4 tablespoons unsalted butter
- 4 cloves garlic, minced
- 1 teaspoon Italian seasoning
- ½ teaspoon red pepper flakes (optional)
- 1 tablespoon lemon juice
- 2 tablespoons chicken broth or white wine
- 1 tablespoon chopped fresh parsley
How to Make Garlic Butter Chicken Breast
Step 1: Prepare the Chicken
- Pat the chicken breasts dry with paper towels to remove excess moisture. This helps the seasoning adhere better and ensures a crispier sear.
- Season both sides of the chicken with salt, black pepper, paprika, garlic powder, and onion powder.
Step 2: Sear the Chicken
- Heat olive oil in a large skillet over medium-high heat.
- Add the seasoned chicken breasts to the skillet and sear for 5-6 minutes per side until they develop a golden-brown crust.
- Reduce the heat to medium-low, cover the skillet, and cook for another 5-7 minutes, or until the chicken reaches an internal temperature of 165°F (75°C).
- Transfer the cooked chicken to a plate and set it aside.
Step 3: Prepare the Garlic Butter Sauce
- In the same skillet, melt unsalted butter over medium heat.
- Add minced garlic and sauté for 30-45 seconds until fragrant.
- Stir in Italian seasoning, red pepper flakes, lemon juice, and chicken broth.
- Simmer the sauce for 2 minutes, allowing the flavors to meld.
Step 4: Coat the Chicken with Sauce
- Return the cooked chicken breasts to the skillet and spoon the garlic butter sauce over them.
- Let the chicken simmer in the sauce for another 2 minutes to absorb the flavors.
- Sprinkle with chopped fresh parsley before serving.
Tips for the Best Garlic Butter Chicken Breast
1. Use Thin Chicken Breasts
- If your chicken breasts are thick, butter them or pound them to an even thickness. This ensures even cooking and prevents dry, overcooked edges.
2. Let the Chicken Rest
- Allow the chicken to rest for 5 minutes after cooking. This helps retain moisture and keeps the chicken juicy.
3. Enhance the Flavor
- Add a splash of white wine to the garlic butter sauce for an extra layer of flavor.
- For a creamy variation, stir in heavy cream or grated Parmesan cheese.
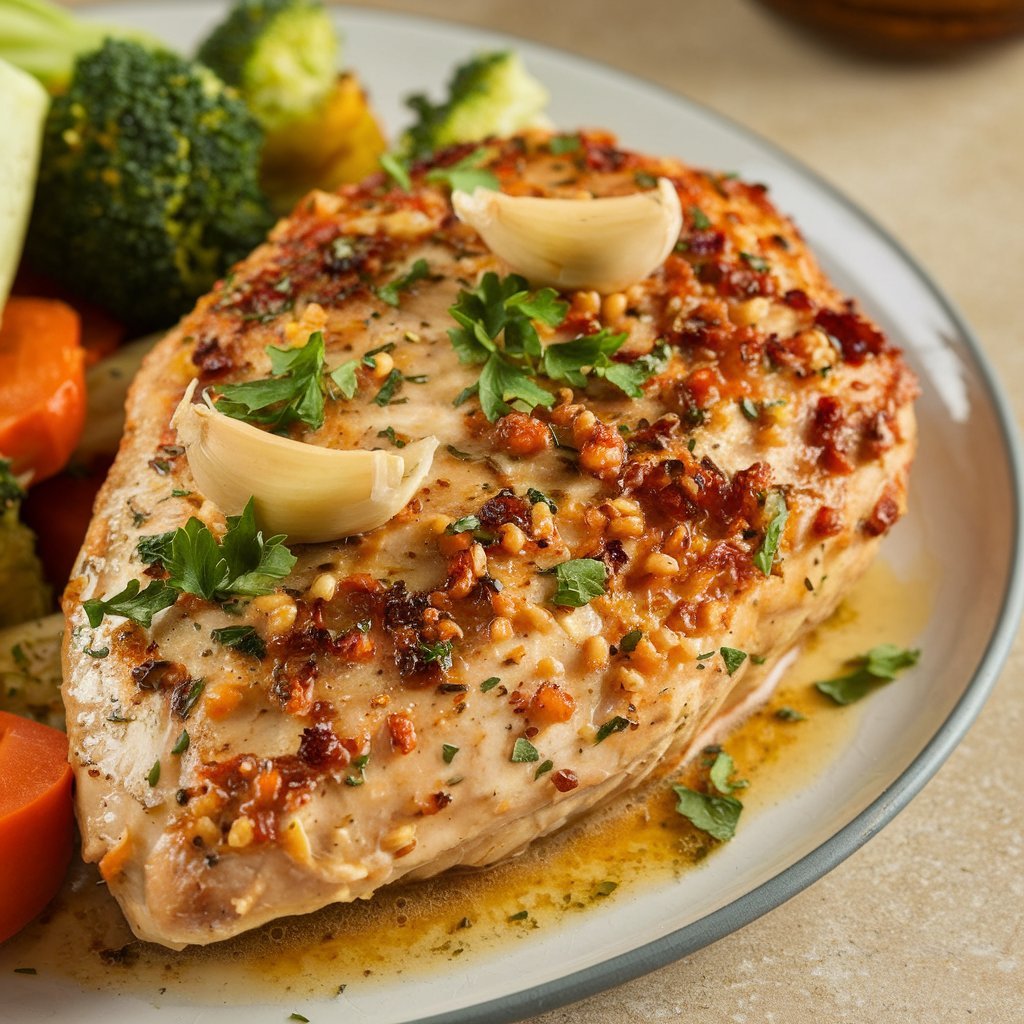
What to Serve with Garlic Butter Chicken
This garlic butter chicken breast pairs well with a variety of sides. Here are some great options:
- Roasted vegetables: carrots, zucchini, or bell peppers.
- Mashed Potatoes: Creamy mashed potatoes soak up the garlic butter sauce perfectly.
- Steamed rice or quinoa—a light and healthy option.
- Garlic Bread: Perfect for sopping up extra sauce.
- CaesarSalad:– A refreshing contrast to the richness of the dish.
Storing and Reheating Garlic Butter Chicken
How to Store Leftovers
- Refrigerate: Place leftover chicken in an airtight container and store it in the refrigerator for up to 3 days.
How to Reheat
- Stovetop: Heat in a skillet over medium-low heat with a splash of chicken broth.
- Oven: Bake at 350°F (175°C) for about 10 minutes until heated through.
- Microwave: Heat in 30-second intervals to prevent drying out.
Final Thoughts
This garlic butter chicken breast recipe is a must-try for anyone looking for a quick, easy, and flavorful meal. With its rich garlic butter sauce and perfectly seared chicken, this dish is sure to become a staple in your kitchen. Whether you’re cooking for family, meal prepping, or impressing guests, this recipe delivers restaurant-quality flavors every time.